Getting the right white balance in your photo can be the difference between a photo that sings or a photo that looks blah. All of us have probably taken photos that look too warm, too cold, or have strange colour tints in certain part of the frame. Sometimes a photo feels muddy or even sickly. The culprit? Poor white balance.
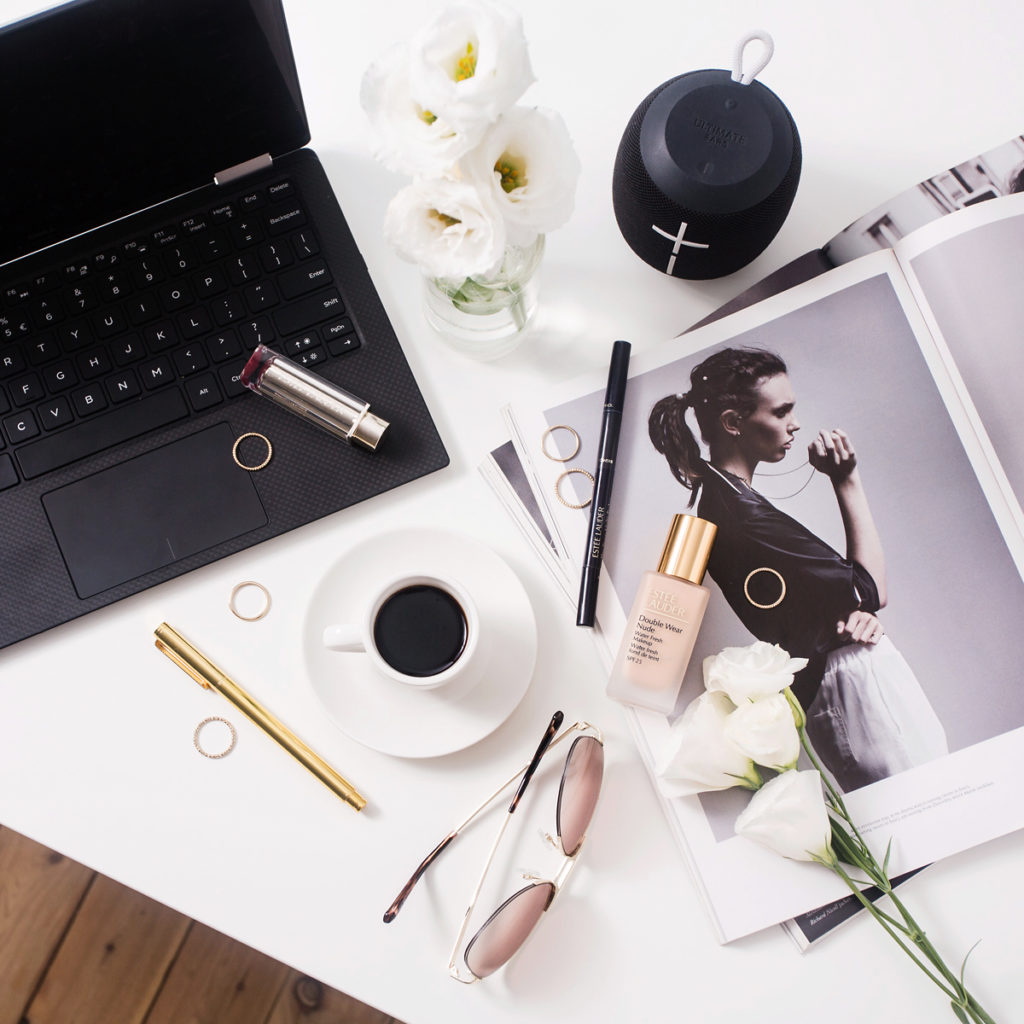
Get clean, crisp photos by nailing your white balance
What Is White Balance?
Colour is found naturally in all sources of light. It’s referred to as colour temperature and different light sources emit different colours. For example, candle light is really orange while fluorescent light is green. Even the colour of sunlight is drastically different between sunrise, high noon on a cloudless day, and when it’s overcast.
White balance corrects these colour casts to neutralise your image. It makes the whites in your image actually look white. When you take a photo on your phone or an automatic camera, white balance is corrected automatically within the programing of your device. But this auto correction is just computer guesswork so it often gets it wrong hence your muddy looking images. Even though this calculation is automatic, you can still take several steps to ensure better white balance in your images. Read below to learn my top tips to getting the perfect white balance.

Tip 1: Correct Exposure
The colour temperature of your photo shifts when your image is too dark or too bright. The easiest way to get good white balance is to capture your photo at the correct exposure in the first place.
Tip 2: Use A Low ISO
The higher your ISO, the more noise appears in your image. Noise has colour in it. These foreign colours mess with how your image is read making it harder for your camera to correct the white balance.
Tip 3: Use Only One Light Source
Cameras can only correct one type of light per photo. Using only one type of light source means your camera will have an easier time making that correction. So, if you use natural window light, make sure any lamps and/or room lights are turned off while you take your photo. Mixing different light sources is the reason some parts of an image look yellow or blue while the rest of your photo looks okay.
Studio lights are designed to have matching colour temperatures which is why photographers can use multiple lights on a set while still getting correct white balance.

Tip 4: Remove Colourful Objects That Are Closeby
Just as light can reflect off a wall, its colour can reflect off it too. So, if you’re wearing a bright red shirt while hovering over your flatlay taking a photo, the red in your shirt will taint your set. It’s why there’s some truth in the stereotype that photographers always wear black! Objects near your set can reflect its colour into your photo so be aware of what you’re wearing, the colour of your walls, and even the other props around your set. If they have a strongly coloured object closeby that doesn’t compliment your scene, move it far away.
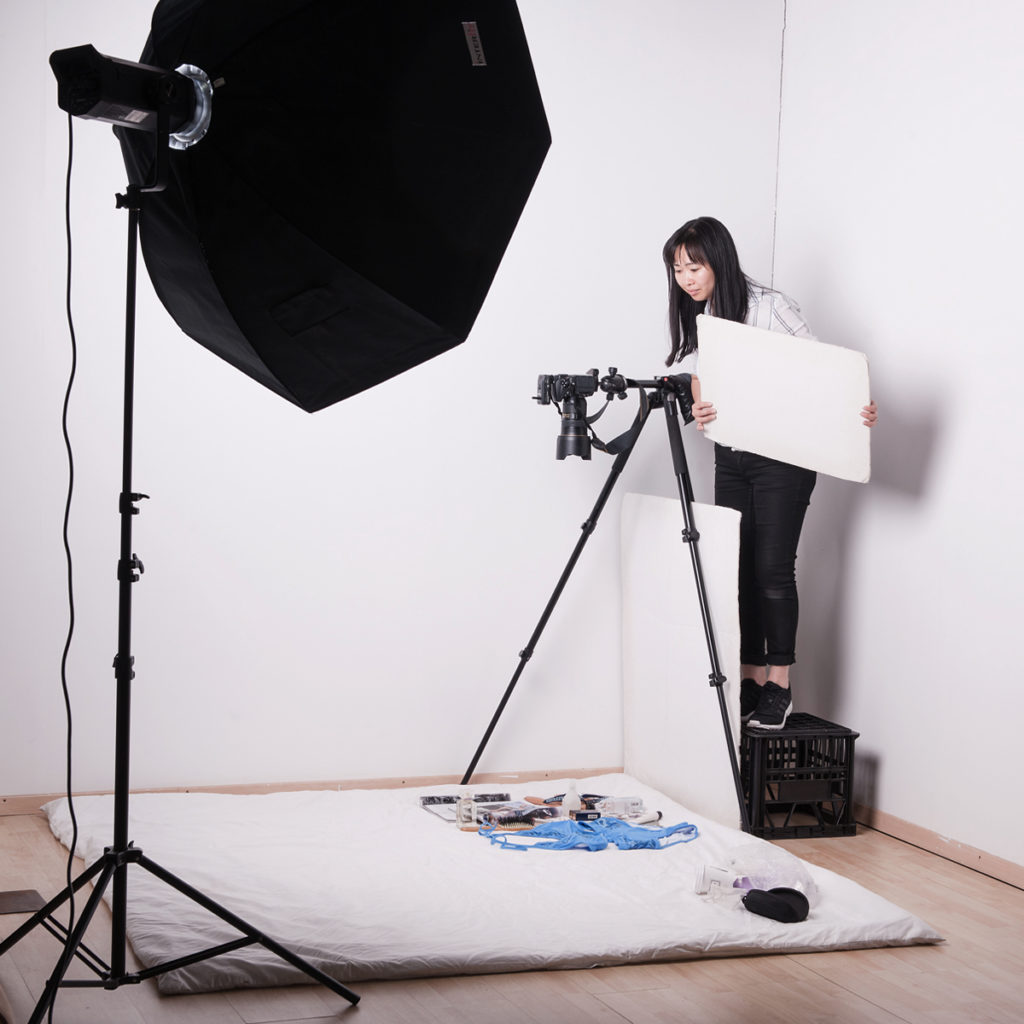
White walls and neutral clothing prevent getting colour casts in you photos
Tip 5: Take More Control
Controlling your white balance is one of the main reasons content creators might choose a camera over a phone. Auto White Balance (AWB) mode works well in some conditions, but newer cameras offer presets where you can choose the white balance that best matches your lighting conditions. So, if you’re shooting outside in direct sunlight, use the sun mode. Use the shade mode if you’re in the shade, and so on. Advanced cameras will even let you choose the colour temperature manually instead of letting your camera guess.
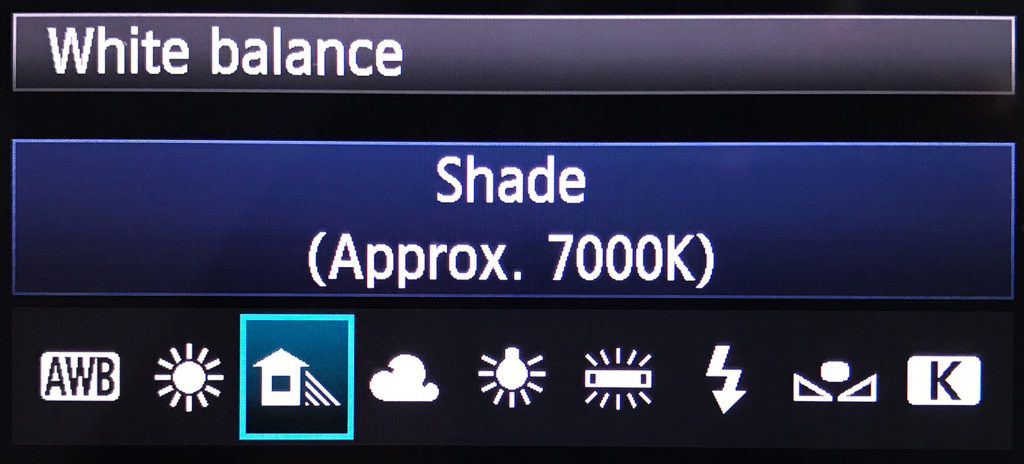
Try the white balance presets in your camera to see what best suits your photo
Tip 6: Shoot in RAW
You always have the option of adjusting white balance after your shoot. It’s not best practice to completely rely on your editing skills, but it’s very handy in situations when you can’t control your light or surroundings during your shoot.
When you shoot in RAW, all the pixel data of your photo is preserved making it much easier to edit your photo later. When you shoot directly to jpeg however, your camera automatically makes contrast, colour, and brightness adjustments to your image and then deletes the pixel data it doesn’t need. This makes it harder to do more than minor edits later, especially with white balance.
Tip 7: Check Your White Balance Often
If you’re not shooting in AWB mode, then check your white balance settings often. Natural light can change colour temperature quickly when a cloud passes over the sun or as the sun gets lower in the sky during the evening. Keep in eye on changing lighting conditions so you can adjust your white balance setting accordingly. If that becomes too tricky to keep doing, switch back to AWB mode.
- C xx
Note: This blog is in collaboration with Vamp and first appeared on vampcollective.com




C., tell me please, what is this lamp? What model is it?
I love your job, your photos are amazing, you do it great!
Hi Leeni,
That is a Bowens studio strobe light with a softbox attachment. And thanks for your kind words. Cheers, C xx